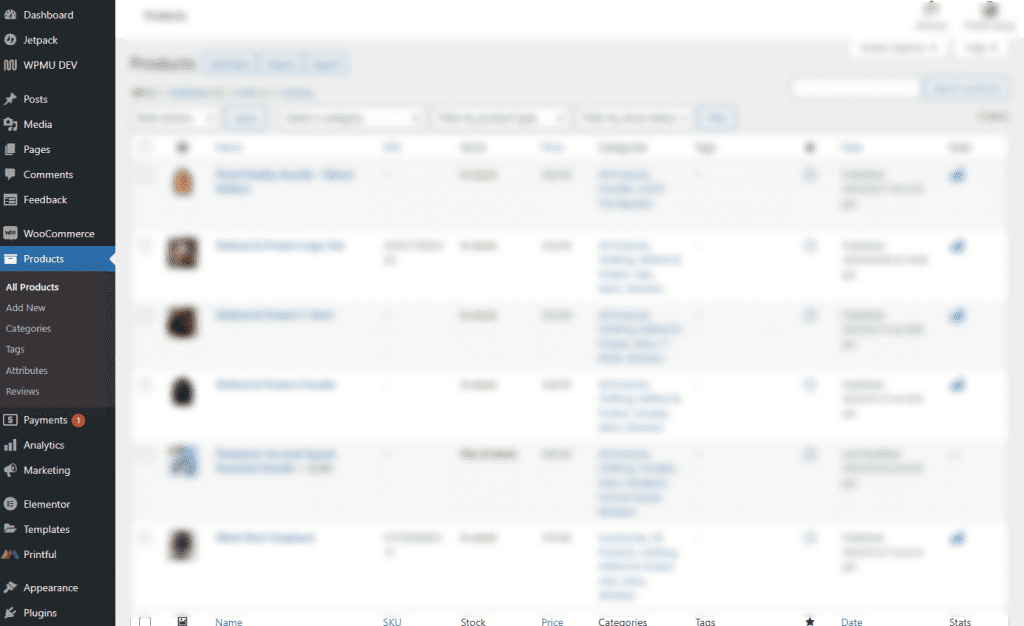
- Log in to your WordPress Dashboard and navigate to the "Products" tab on the left-hand side.
- Click on "Products" to open the Products page.

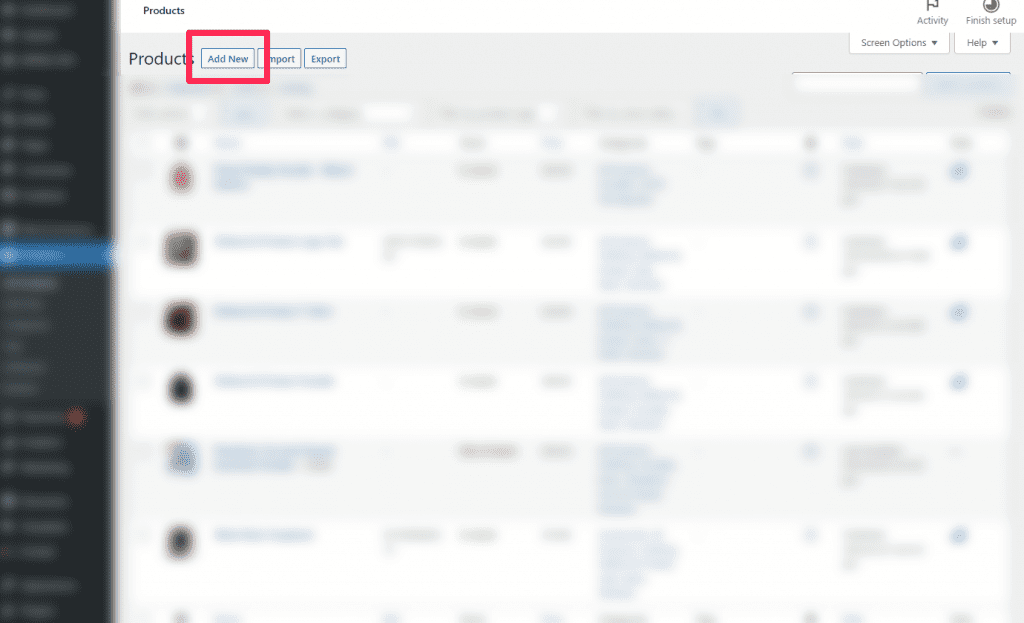
- Click on the "Add New" button at the top of the page.

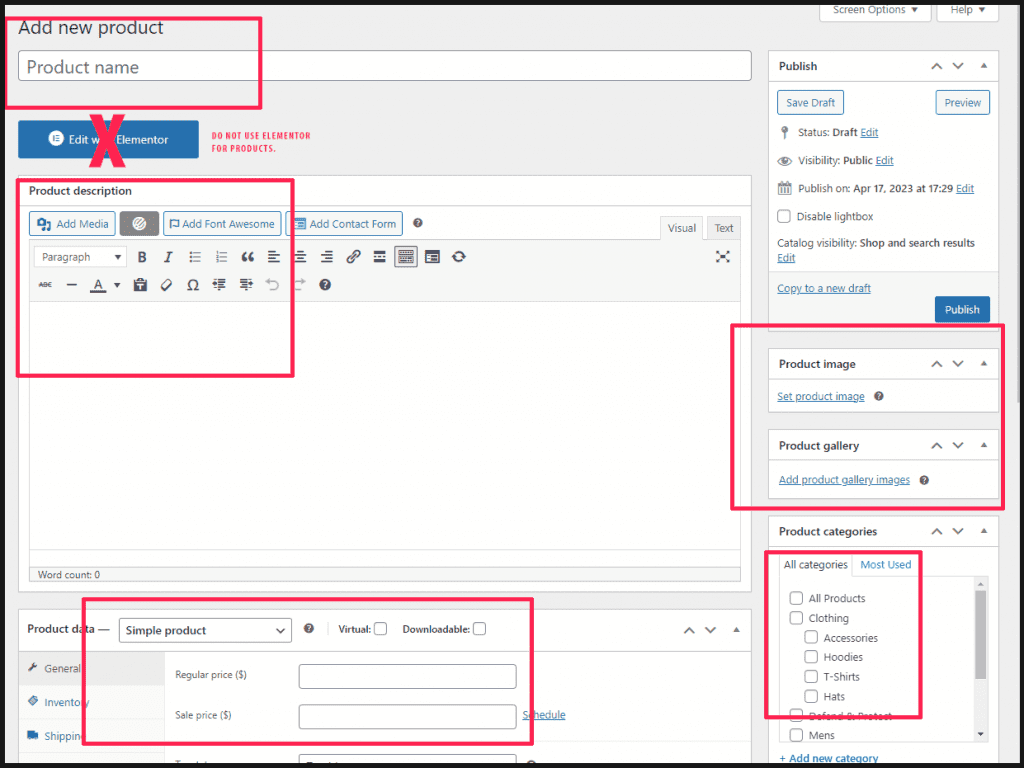
- Enter the product name in the Product Name field. This is the name that will appear on the website for the customer to see.
- Add a product description in the Product Description field. This should be a brief overview of the product, including any key features or benefits.
- Set the product price in the Product Data section. You can also add a sale price and a schedule for the sale.
- Upload product images in the Product Image section. These images should be high-quality and showcase the product from different angles.
- Set product categories and tags in the Product Categories and Product Tags sections. These help customers find your product when browsing your website.

- Add product attributes in the Product Data section. This is where you can define specific product features such as color, size, and material.
- Set product shipping and tax options in the Shipping and Tax sections. This includes the weight and dimensions of the product, as well as any applicable tax rates.
- Save your changes and preview your product on your website to make sure everything looks good.
By following these simple steps, you can easily add products to your WooCommerce website and start selling online.
Remember, if you ever need any help with WooCommerce or any other aspect of your website, Product Advance is always here to assist you.


