If you’re running an online store, adding products is one of the most important tasks you’ll need to complete. Fortunately, adding products to your Product Advance WooCommerce website is easy! In this quick tutorial, we’ll walk you through the process in 5 easy steps.
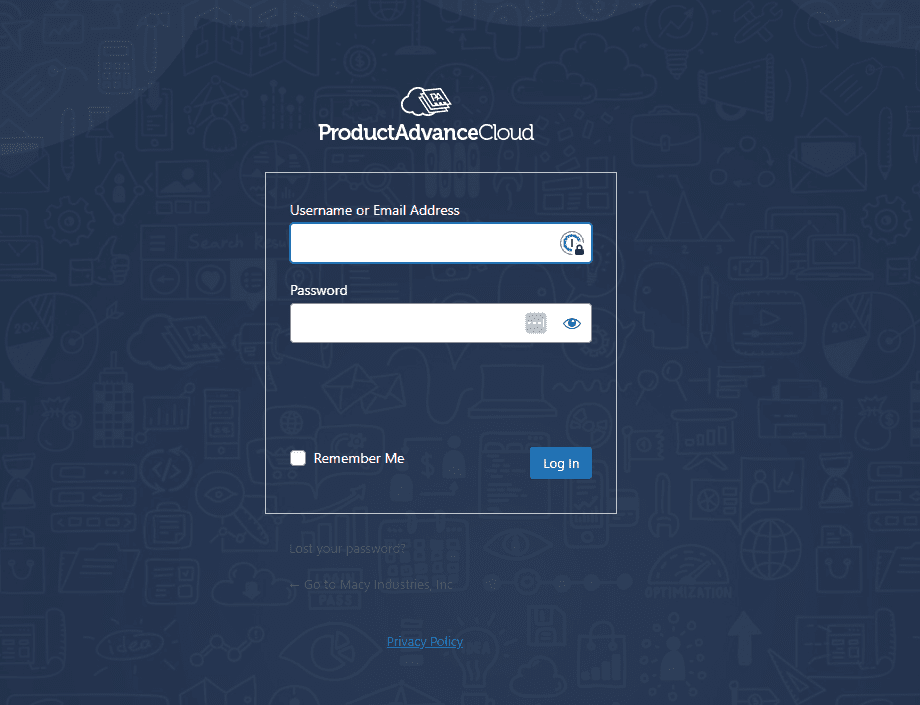
Step 1: Log in to Your WordPress Dashboard To add products to your website, you need to log in to your WordPress dashboard. Once you’re logged in, navigate to the WooCommerce tab on the left-hand side of the screen.

Step 2: Add a New Product Once you’ve accessed the WooCommerce dashboard, click on the “Products” option from the menu, then click “Add New” to create a new product.

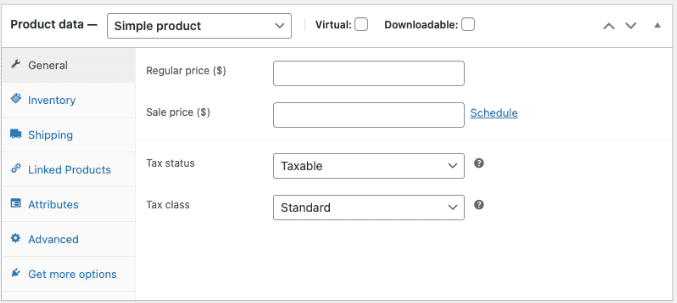
Step 3: Add Product Details Next, you’ll need to add your product details. This includes the product name, description, category, price, and any other relevant information. You can also upload product images at this stage.
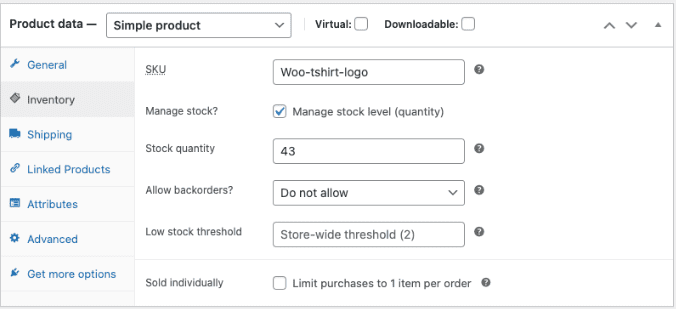
Step 4: Configure Product Settings WooCommerce allows you to customize the settings for each product. You can specify the product’s weight, dimensions, shipping class, and more. You can also set up product variations, such as size or color options.


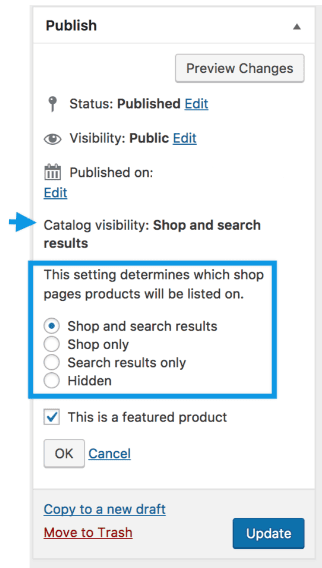
Step 5: Publish Your Product Once you’re happy with your product details and settings, click the “Publish” button to make your product live on your website.

As you can see, adding products to your Product Advance WooCommerce website is easy and straightforward. By following these simple steps, you can quickly and easily add new products to your store.
So, what are you waiting for? Get started today and start adding products to your online store!
Remember, Product Advance is here to help you every step of the way. If you have any questions or need assistance, our support team is available 24/7 to provide you with expert advice and guidance.


